Picture background remover
Welcome to our blog post on the amazing world of picture background removal! Whether you’re a professional photographer, an e-commerce entrepreneur, or just someone who loves playing around with images, removing backgrounds can be a time-consuming and tedious task. But fear not! With the help of a picture background remover tool, you can bid farewell to those long hours spent meticulously erasing pixels and welcome a whole new level of efficiency and creativity into your workflow.
In this article, we’ll explore the benefits of using a picture background remover, discuss the top features you should look for in such a tool, provide you with step-by-step instructions on how to use one effectively, and even share some handy tips and tricks for achieving flawless results. Are you ready to unlock the power of seamless image editing? Let’s dive right in!
The traditional method of removing backgrounds
When it comes to removing backgrounds from images, the traditional method often involves using software like Photoshop or other photo editing tools. This process can be quite time-consuming and requires a certain level of expertise. First, you have to carefully select the subject and manually trace around its edges using various selection tools. Then, you painstakingly erase the unwanted background pixels bit by bit until you achieve a clean cutout.
However, this old-school approach has its drawbacks. Not only does it require precision and patience, but it also demands a considerable amount of skill and experience with complex editing techniques. For beginners or those who simply don’t have hours to spare on one image, this method can feel overwhelming and discouraging.
Furthermore, even for seasoned editors, there’s always a risk of imperfections – jagged edges, missed spots, or remnants of the original background that stubbornly refuse to disappear completely. Achieving a polished result often means going back and forth between erasing and refining until everything looks seamless.
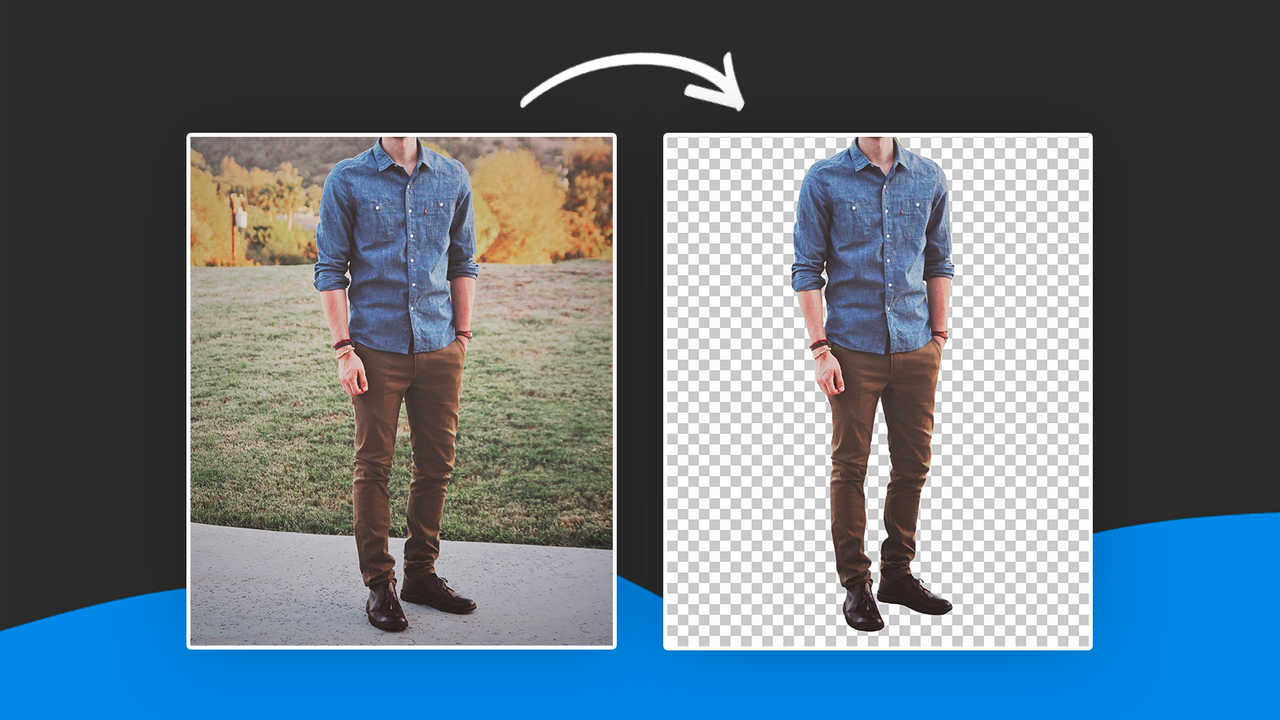
With all these challenges in mind, it’s no wonder that people are turning to picture background remover tools for an easier and more efficient solution! These specialized software applications utilize advanced algorithms that automatically detect subjects within an image and remove their backgrounds with just a few clicks. It eliminates the need for manual selection or meticulous erasing while delivering professional-looking results in record time.
By utilizing cutting-edge technology such as machine learning and artificial intelligence (AI), picture background removers can accurately separate your subject from its surroundings without compromising quality. They intelligently identify intricate details like hair strands or fine object outlines – something that would typically take hours to do manually!
Not only do these tools save precious time but they also empower users at any skill level to create stunning visuals effortlessly. Whether you’re looking to enhance product photographs for your online store or craft captivating social media graphics, picture background removers offer convenience without sacrificing quality.
In the next section of this article, we’ll dive into the top features you should look for in a picture background
Benefits of using a picture background remover
Using a picture background remover can bring numerous benefits to your photo editing process. One of the main advantages is the ability to easily remove unwanted backgrounds from your images with just a few simple clicks. This saves you time and effort compared to traditional methods, such as manually selecting and deleting the background using complex software.
Another benefit is the level of precision that a picture background remover tool offers. These tools often use advanced algorithms to accurately separate the foreground subject from the background, resulting in clean and professional-looking images. This can be particularly useful for e-commerce businesses or photographers who need high-quality visuals for their websites or portfolios.
Additionally, picture background removers usually come with various customization options that allow you to further enhance your edited images. You can adjust settings like transparency, feathering, or even replace removed backgrounds with new ones, giving you complete control over how your final image looks.
Moreover, using a picture background remover doesn’t require extensive editing skills or knowledge. Most tools are designed to be user-friendly and intuitive, making it accessible even for beginners who may not have prior experience in photo editing.
Incorporating a picture background remover into your workflow can streamline your editing process and help you achieve professional results without exerting unnecessary time and effort.
Top features to look for in a picture background remover tool
When it comes to choosing a picture background remover tool, there are several key features that you should consider. These features can greatly enhance your editing experience and help you achieve the best results possible.
Look for a tool that offers automatic background removal. This feature uses advanced algorithms to accurately detect and remove the background from your image in just seconds. It saves time and ensures clean and professional-looking results.
Another important feature is the ability to handle complex backgrounds. Look for a tool that can effectively remove backgrounds from images with intricate details or multiple objects. This will give you more flexibility in editing and allow you to create stunning compositions.
Additionally, consider the option of manual editing tools. While automatic removal is great, sometimes you may need more control over specific areas of an image. Look for a tool that provides options like erasing brushes or selection tools to refine your edits with precision.
A good picture background remover should also offer support for different file formats. Make sure the tool supports popular formats like JPEG, PNG, GIF, etc., so that you can work with any type of image seamlessly.
User-friendliness is crucial when choosing a picture background remover tool. Look for an intuitive interface that allows easy navigation and simple steps to perform edits without any hassle.
By considering these top features in a picture background remover tool, you can find one that meets your specific needs and helps bring your creative vision to life!
Step-by-step guide on how to use a picture background remover
Step 1: Choose the right tool
The first step in using a picture background remover is to find the right tool for your needs. There are many options available online, so take some time to research and read reviews to ensure you choose a reliable and user-friendly tool.
Step 2: Upload your image
Once you have selected a picture background remover tool, it’s time to upload the image that you want to edit. Most tools allow you to simply drag and drop your image onto their platform, making it quick and easy.
Step 3: Select the subject
Next, use the selection or masking feature of the tool to highlight the subject of your image. This will help the software differentiate between what should be removed (the background) and what should remain (the subject).
Step 4: Remove the background
After selecting your subject, click on the “remove background” button or similar option provided by the tool. The software will then work its magic, analyzing your image and automatically removing everything except for your chosen subject.
Step 5: Fine-tune if needed
In some cases, there may be areas where parts of your subject were mistakenly removed or where portions of the background were not completely eliminated. Take advantage of any additional editing features offered by the picture background remover tool to refine these areas manually.
Using a picture background remover can save you valuable time and effort when it comes to editing images. By following these simple steps, anyone can achieve professional-looking results without needing advanced photo editing skills or software expertise. So go ahead and give it a try!
Tips and tricks for achieving the best results
Tips and tricks for achieving the best results
Now that you know the benefits of using a picture background remover and have an idea of what features to look for in a tool, let’s delve into some tips and tricks to help you achieve the best results.
1. Choose high-quality images: When selecting images to remove backgrounds from, it’s important to choose ones with good resolution and clarity. This will make it easier for the background removal tool to accurately identify and separate the foreground from the background.
2. Use contrasting colors: If your subject has similar colors as the background, it can be challenging for a picture background remover tool to properly distinguish between them. To overcome this, consider selecting subjects with contrasting colors or even adding additional elements like props or clothing accessories that create contrast.
3. Refine edges manually: While most picture background remover tools do an excellent job in automatically removing backgrounds, there may still be instances where manual refinement is needed. Pay close attention to any areas where details might have been missed or where parts of the subject blend too closely with the removed background. Use eraser tools or brushes provided by your chosen software to clean up these areas.
4. Experiment with different settings: Picture background remover tools often come equipped with various adjustment options such as feathering, tolerance levels, or edge detection algorithms. Don’t hesitate to experiment with these settings until you find what works best for each specific image you’re working on.
5. Save files in appropriate formats: Once you’ve successfully removed a background from an image, make sure to save it in a format that preserves transparency such as PNG or TIFF file formats. This way, you can easily use your edited image on different platforms without worrying about unwanted white backgrounds appearing again.
By following these tips and tricks along with utilizing a reliable picture background remover tool, you’ll be well-equipped to achieve professional-looking results while saving time and effort in removing backgrounds from your images!

